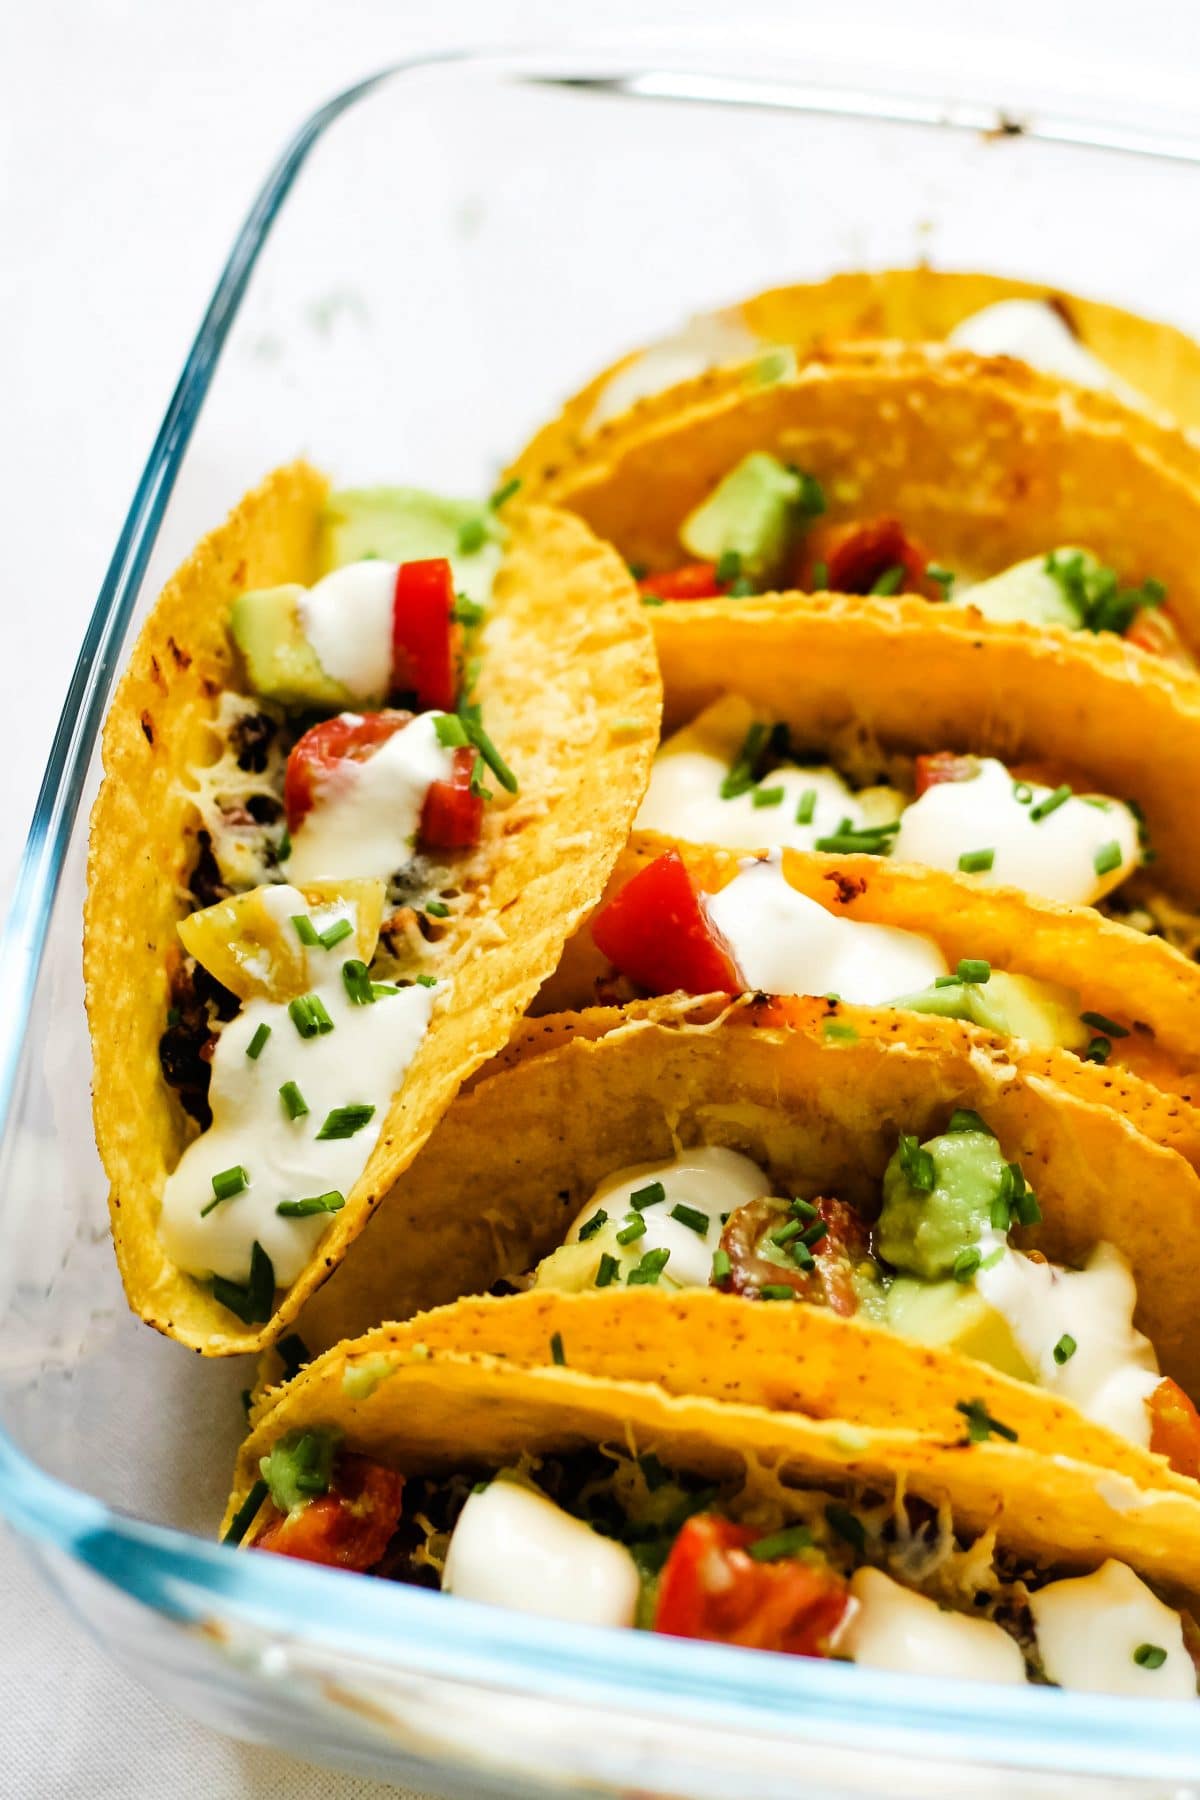
A simple 20 minute vegetarian taco dinner with black beans, smoked cheese and a fresh cherry tomato avocado salsa topping. Oven baked tacos are such a simple dinner, giving you extra crispy shells, melted cheese and a smoother workflow. Using smoked cheddar is an easy way to take classic bean and cheese tacos to the next level, making them completely irresistible!
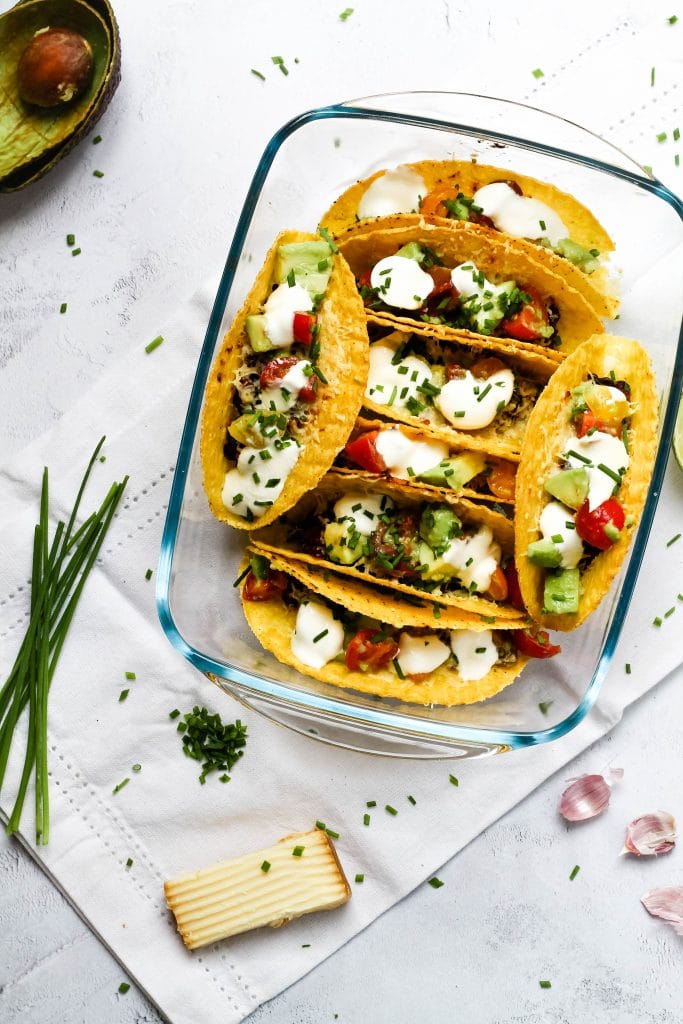
Oven baked tacos, where have you been my whole life?
We tried baking tacos a few months back and now we eat tacos a lot more often, and I am calling that a WIN. Anything that can inspire more frequent taco eating in a busy household has to be a good thing, right?
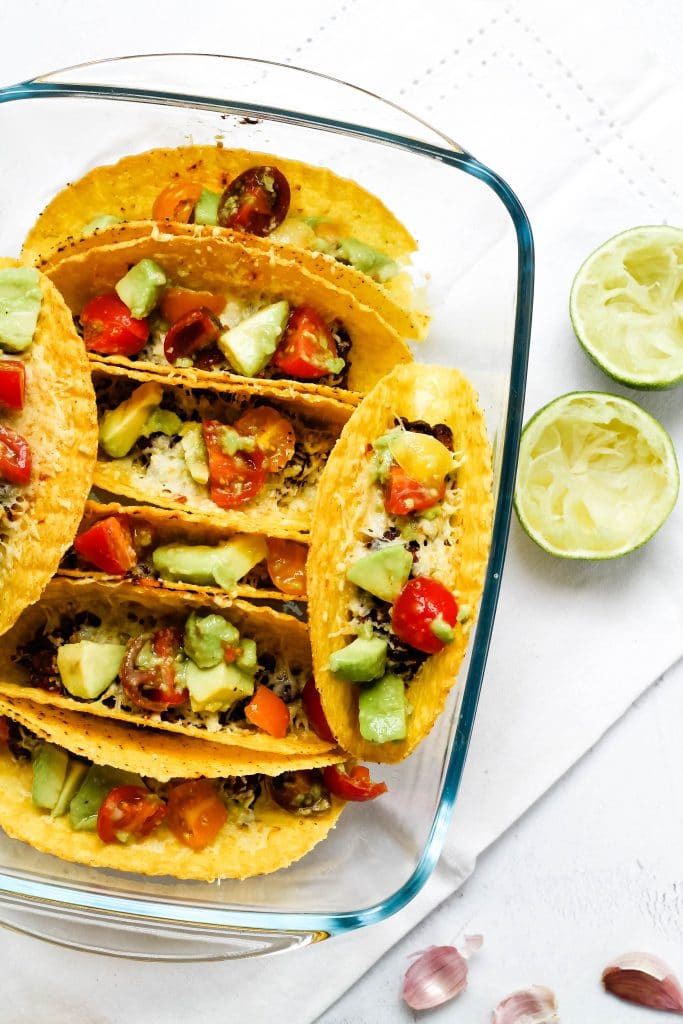
And these classic bean and cheese tacos are just perfect, coming together really easily with staple ingredients. A can of beans, some tomato paste, spices, limes, and smoked cheddar cheese: this is pretty irresistible on the flavor front.
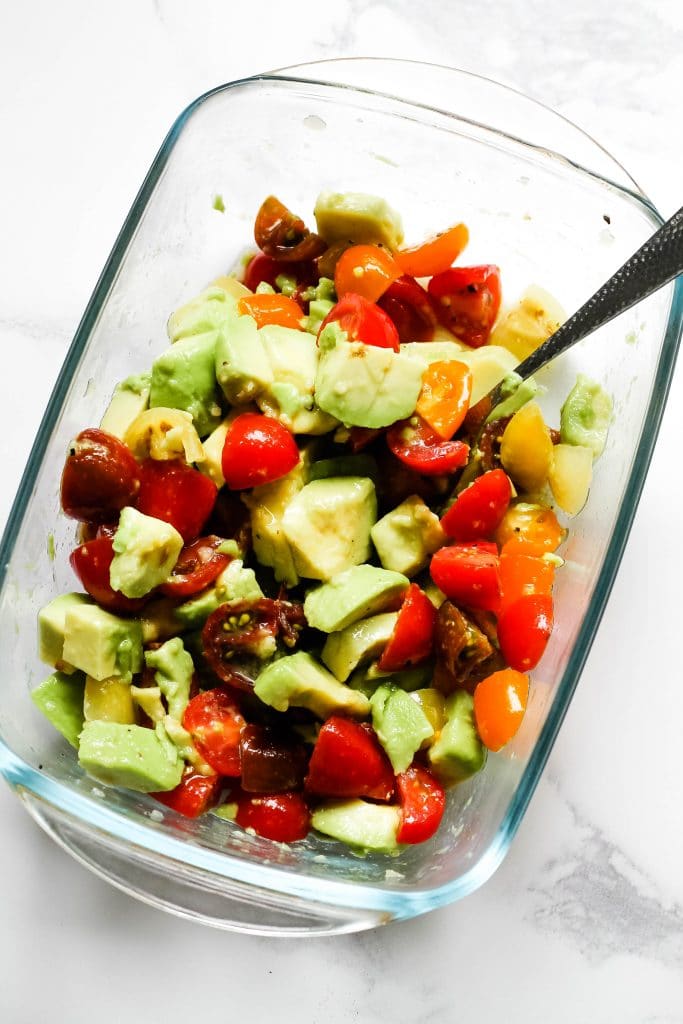
They’re topped with a simple, juicy salsa of cherry tomato, avocado and lime. Not exactly traditional, but an easy, fresh and delicious complement to the smoky filling.
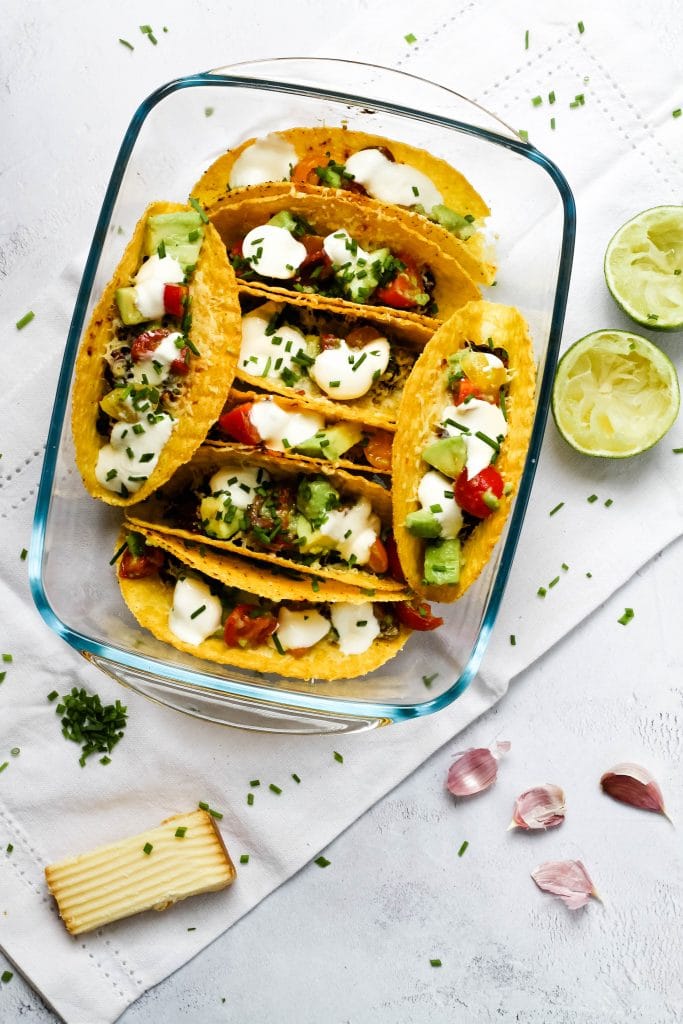
Some Advantages of Oven Baked Tacos…
It’s probably a matter of personal preference whether oven baking tacos is actually easier or not, but I definitely prefer the workflow when making tacos this way.
Simplified Workflow
Baking the tacos gives you less timing issues. You will prepare the filling cold, then scoop it into shells and add the cheese before putting it in the oven to heat up.
The 10 to 15 minutes while the tacos are baking is passive time, which is always nice to have while you’re preparing a meal. Use this time to make the topping, set the table and clean up the kitchen a little.
I prefer this to my usual taco making process (making the filling over the stove just before serving) which had no passive time built in.
I just find that a little bit of passive time makes cooking so much more enjoyable.
Taco shells go extra crispy
I use store bought hard taco shells, and they taste a soooooo much better after baking. This is especially handy if your taco shells have already been opened and are past their peak crispiness.
The cheese melts
Melted cheese is never a bad thing my friends!
Your tacos stay hotter for longer
See the two points above. Since your taco shells have been baked, and your cheese has been melted, your starting point is much hotter. So throwing on some cold toppings will not cool your tacos down as much as if you used room temperature shells and cold cheese.
Less effort at the table
By baking the tacos with the beans and cheese in there already, we have taken some steps out of the taco assembly process. And once the tacos have baked, you can add all your cold toppings right there in the baking tray instead of putting them on at the table, so it’s just a grab and go kinda thing.
Some might think this takes the joy out of taco eating. And yep, sometimes it’s fun to get lots of people around a table putting together their tacos.
But it just depends on your mood.
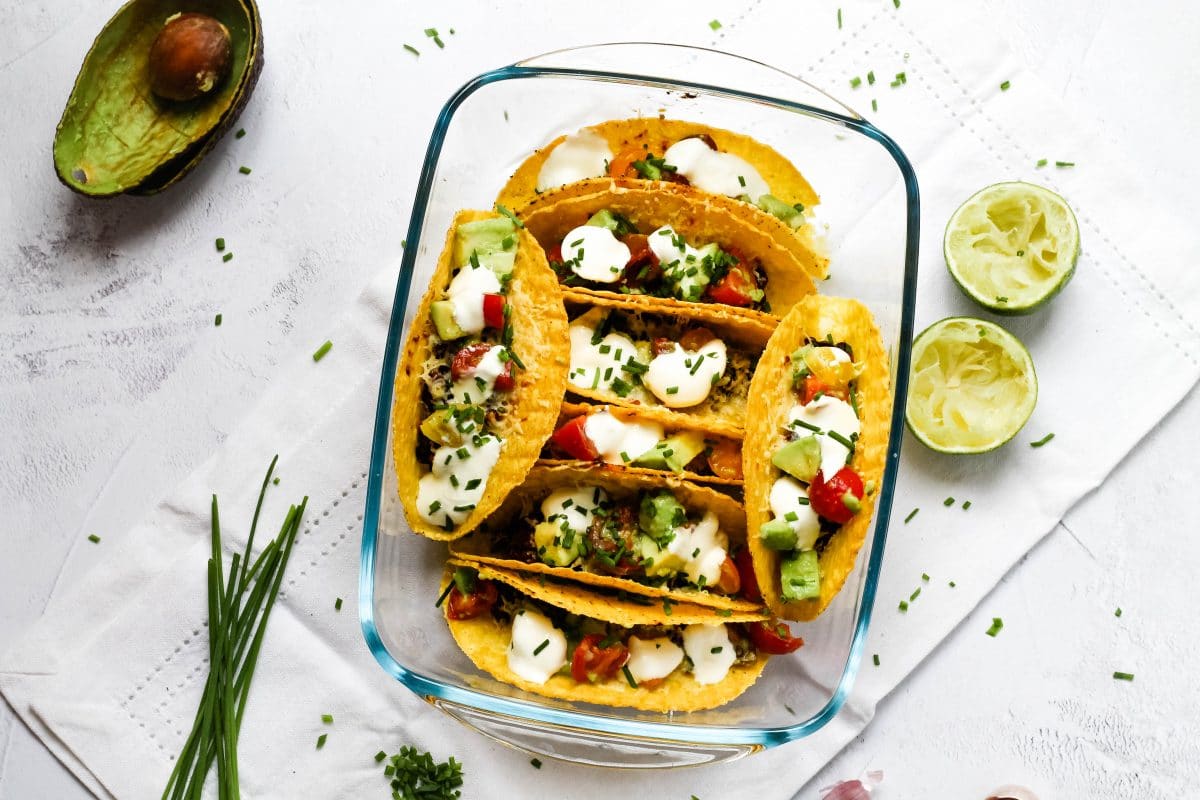
So let’s make some bean and cheese tacos…
If you’re ready to try oven baked tacos, these are a great place to start. It just doesn’t get much easier.
Keep scrolling for a full, printable recipe card, but here is a quick demo first:
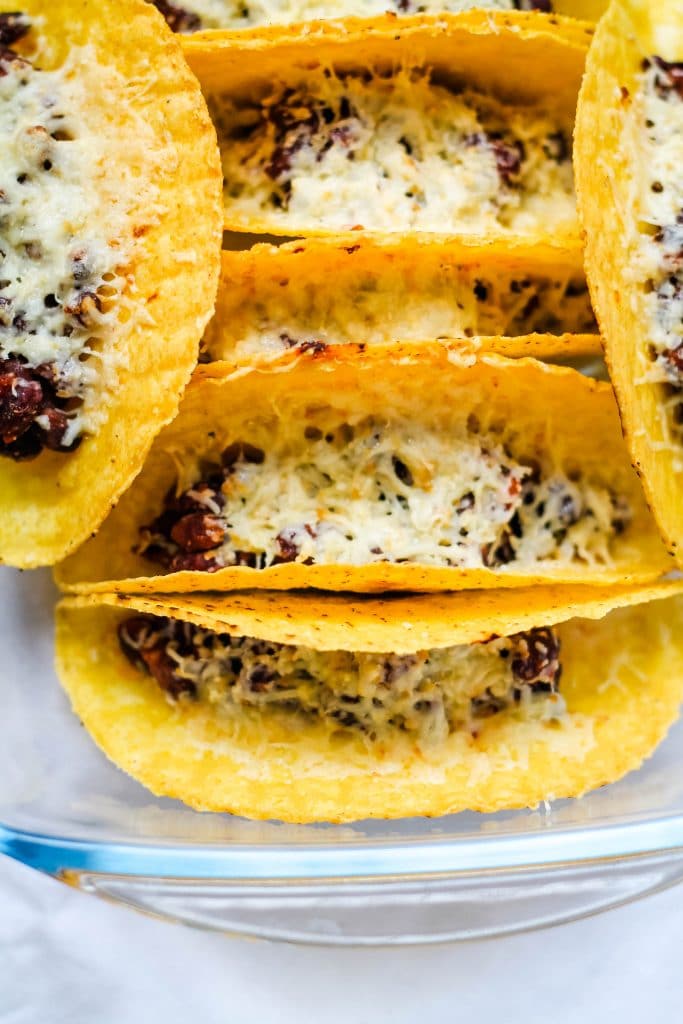
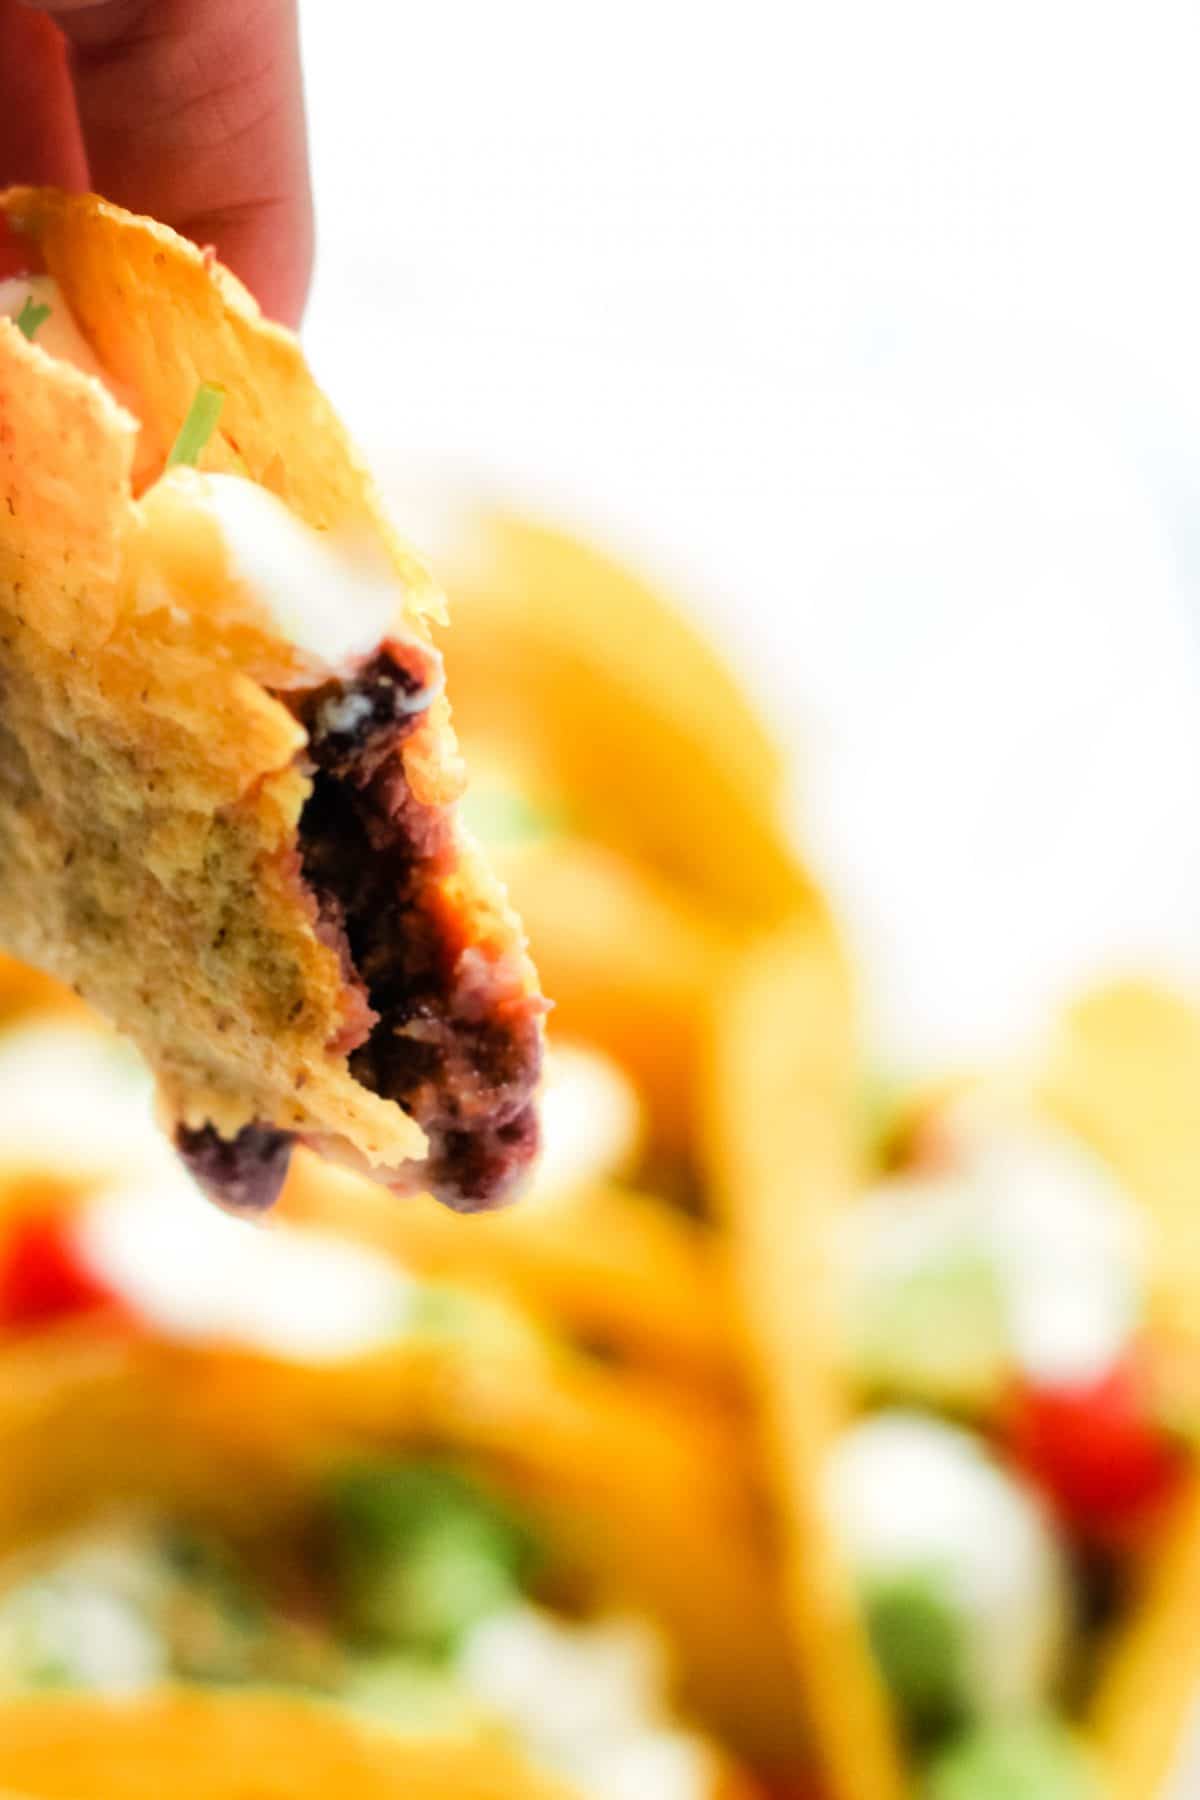
You’ll first mix the beans with some spices and tomato paste in a bowl, and then scoop it right into the taco shells, and top with smoked cheese.
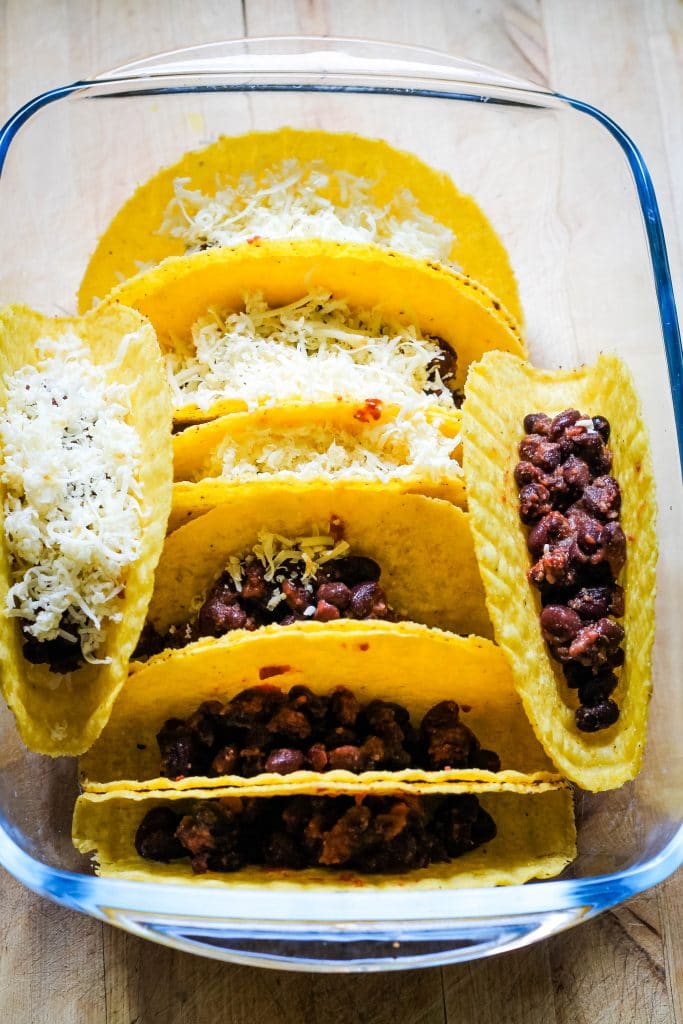
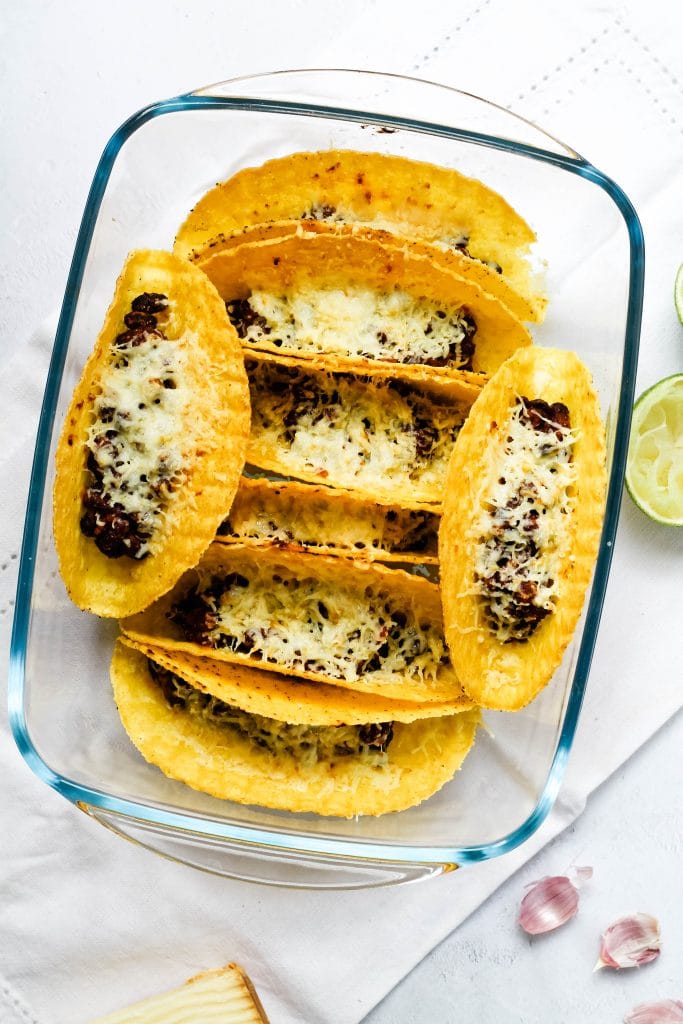
You’ll bake for about 12 minutes until the cheese is melted and the beans have warmed.
In this time you’ll prepare your avocado, cherry tomato & lime topping.
When the tacos are ready, you can scoop the filling into the shells.
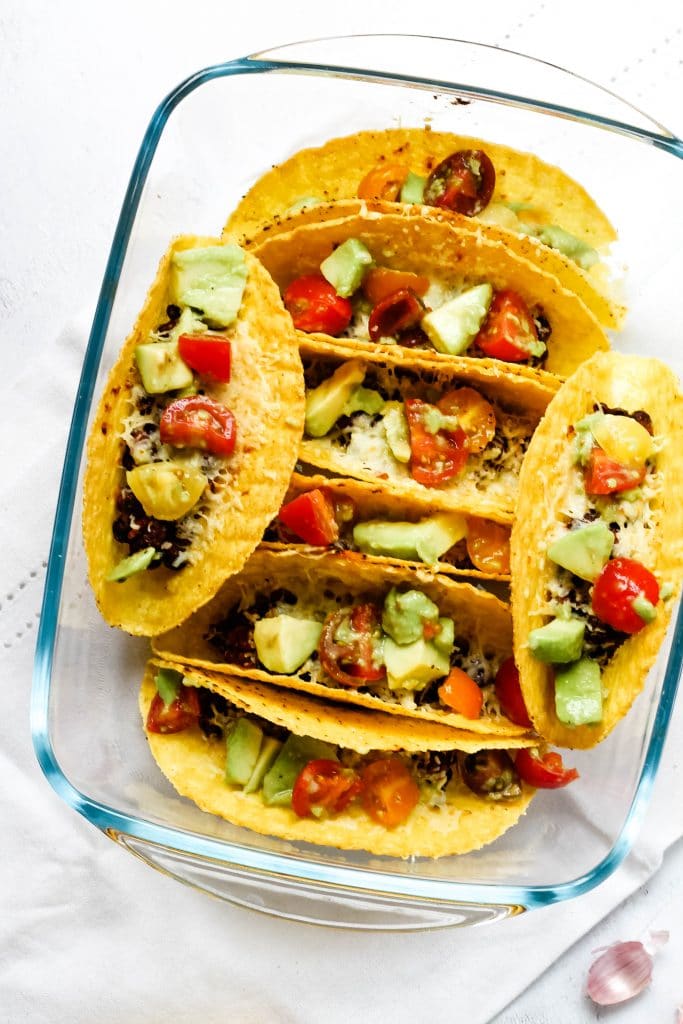
And throw on some sour cream and chives.
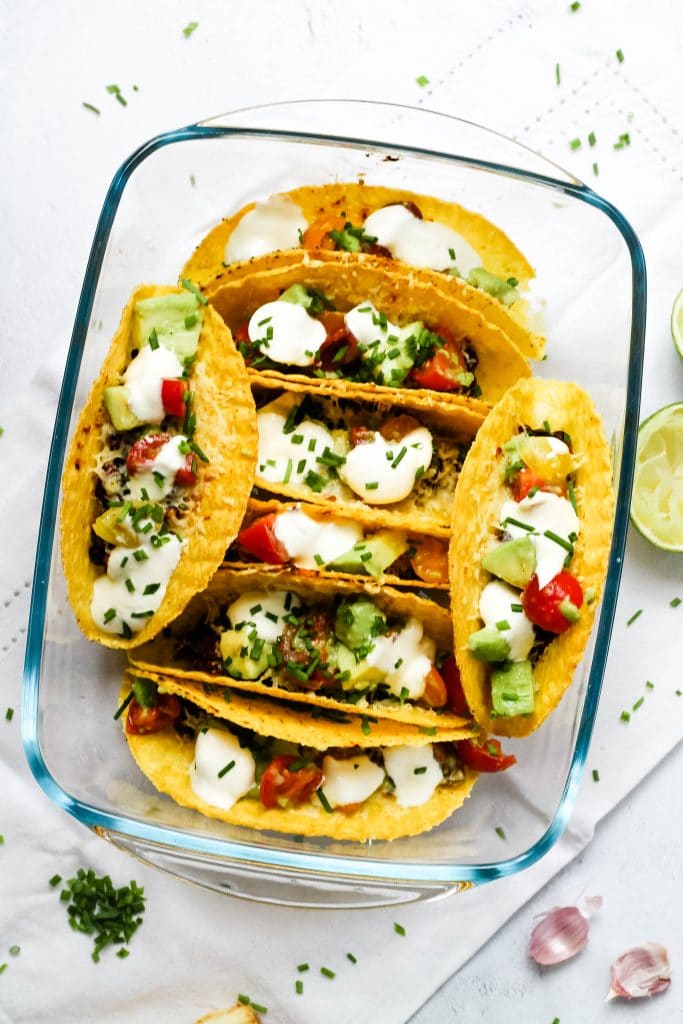
And bring them to the table, and devour them happily.
Variations on these Bean & Cheese Tacos
Cheese Swaps: I love a rich oak smoked cheddar in this, but any smoked cheese would work. Feel free to swap in smoked gouda or smoked mozzarella. No smoked cheese? That’s cool. Use a strong cheddar, and maybe throw some chipotle hot sauce over the grated cheese before you bake it. Vegan? You can get smoked varieties of several dairy free cheeses.
Bean swaps: Swap in Pinto or kidney beans. If using kidney beans, mash them a little.
Healthy Swaps: Use less cheese and swap the sour cream for greek yogurt if you’d like to the lighten this up.
Soft Taco Shells: Feel free to use soft taco shells instead of hard ones! They won’t stand up on their own but you can make it work.
Serving Suggestions
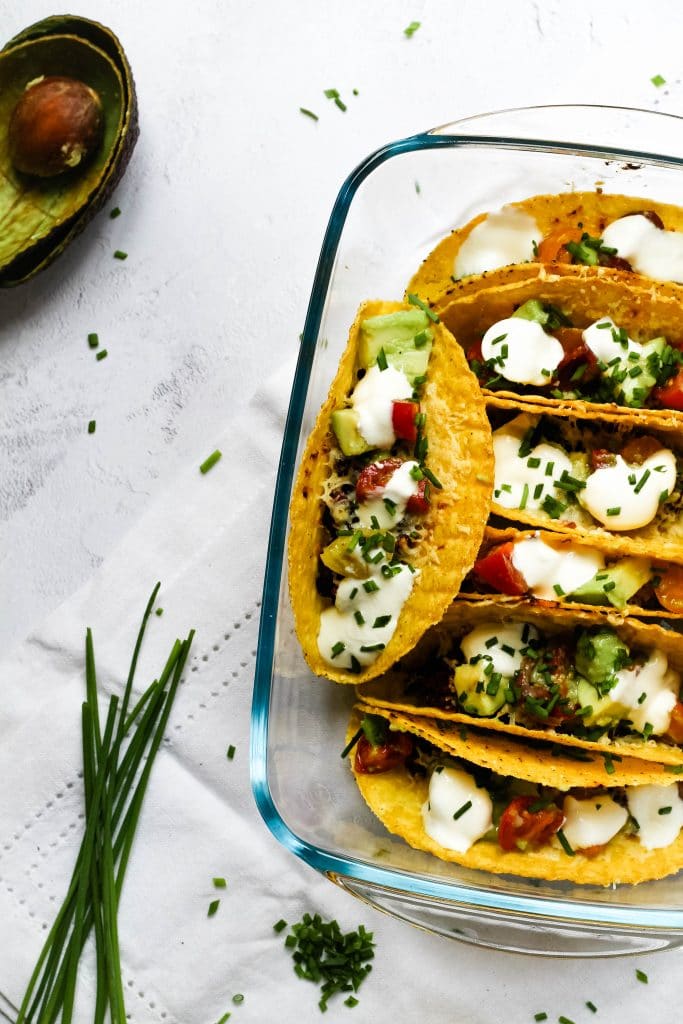
This makes 8 tacos, which in our home is a great dinner for two.
You could serve more people by adding a side dish such as sweet potato fries or a salad and giving everyone 2-3 tacos instead.
It’s easy to double but if you just want to make a few more and don’t want to double the whole recipe, try bulking out your bean filling with some corn or avocado so it will stretch to a few more tacos.
Crispy Bean & Smoked Cheese Tacos
Ingredients
- 8 hard taco shells
- Sour cream, to serve
- Chopped chives, to serve
- 2.7 oz (75 g) smoked cheddar or gouda, grated
Bean Filling:
- 14 oz (400 g) can of black beans , rinsed and drained
- 1 Tbsp tomato paste
- 1 clove of garlic, crushed
- 1 tsp cumin
- 1 tsp ground coriander
- 1 tsp smoked paprika
- ¼ tsp chili powder
- Juice of 1/2 a lime
Salsa Topping*:
- 10-12 cherry tomatoes, quartered
- 1 avocado, cut into chunks
- A couple squeezes of lime juice
- ¼ clove of garlic, crushed
- Salt and pepper to taste
Instructions
- Preheat the oven to 200C / 390F.
- Arrange 8 taco shells in a medium sized casserole dish so that each is standing upright. (Use some balled up foil if you need to prop them up!)
- In a bowl, combine all of the ingredients for your bean filling.
- Scoop the beans into the taco shells.
- Top the bean mixture with the grated cheddar.
- Bake the tacos for 10 to 15 minutes, until the cheese is melted.
- Meanwhile, prepare your salsa topping by combining all of the ingredients into a bowl.
- When the tacos are finished baking, add the salsa, sour cream and chives to the top.
- Serve and devour.



OMG smoked cheese in tacos? I’m so there! These own my heart.
There is smoked paprika in the beans too! YESS.
OMG smoked cheese in tacos? I’m so there! These own my heart.