Perfect for kids and adults alike, these crispy, savory cauliflower nuggets are as tasty as can be. Roasting the cauliflower adds so much flavor that you can easily skip the salt if making for babies or toddlers. There are multiple flavor twists that you can add, so you will never get bored of making these!
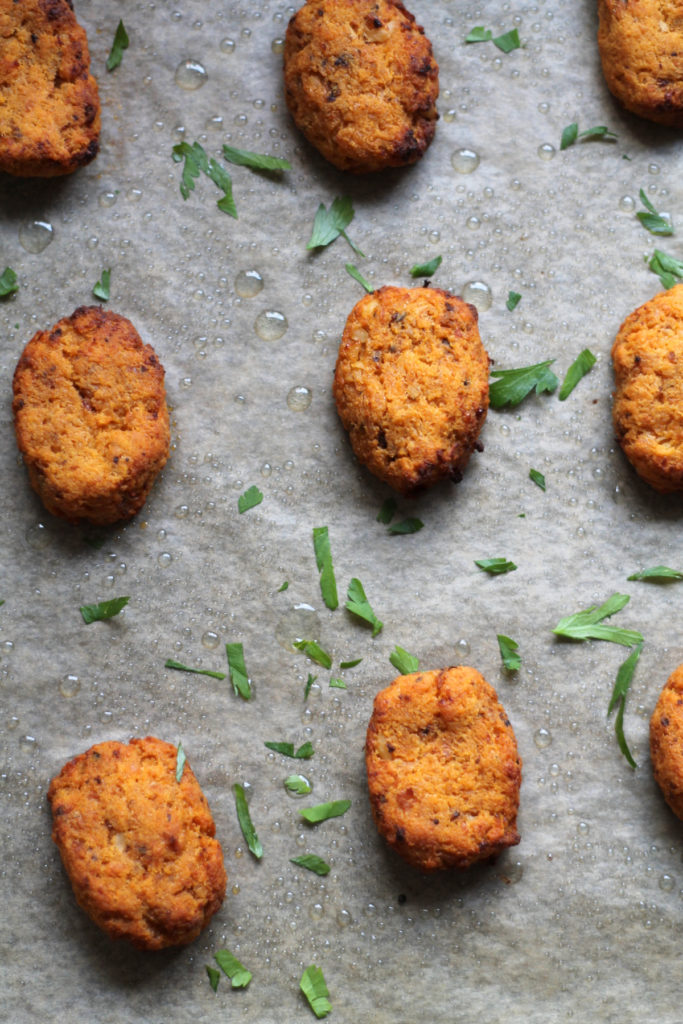
How amazing is roasted cauliflower? Turns out the boring, soggy vegetable of my childhood has a wild side!
Lucky Odette was born in the age of Grownups Knowing How to Treat Cauliflower Right, and these cauliflower nuggets are one of my favorite ways to prepare it. Not just for her, but for all of us! We are all hooked. They are crispy on the outside but moist and soft on the inside with that roasty, toasty flavor in every bite.
What’s more, I can try a new spin on them every time I make them. Adding fresh herbs, truffle oil, changing up the cheese – it’s always delicious and Odette seems happy enough with each variation.
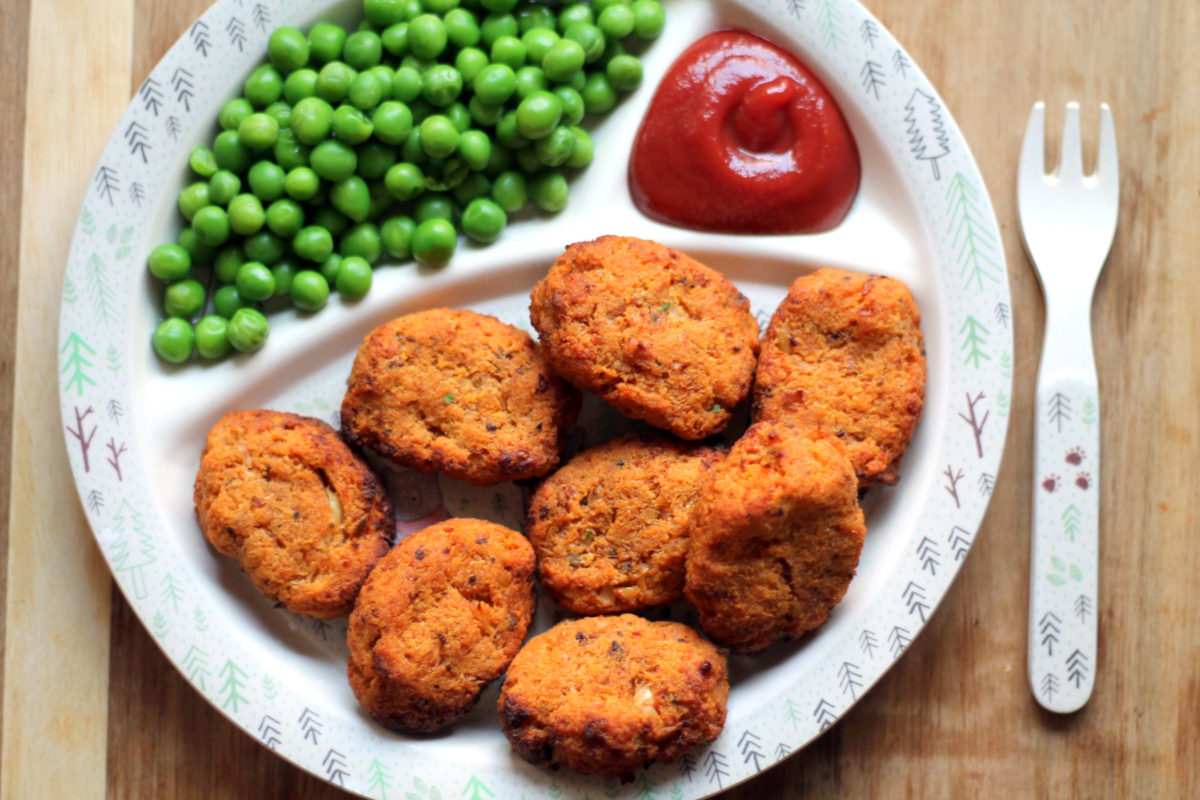
Roasted Cauliflower Nuggets for Babies / Baby Led Weaning
The nuggets are baked with just a little bit of olive oil, and no added salt or sugar, so they’re a great finger food for infants. However, watch out for the salt content on your ready made breadcrumbs if making for a baby under one. You may prefer to make your own breadcrumbs to avoid that sodium.
You may also wish to bake them for the minimum time to keep them soft for the littlest babies.
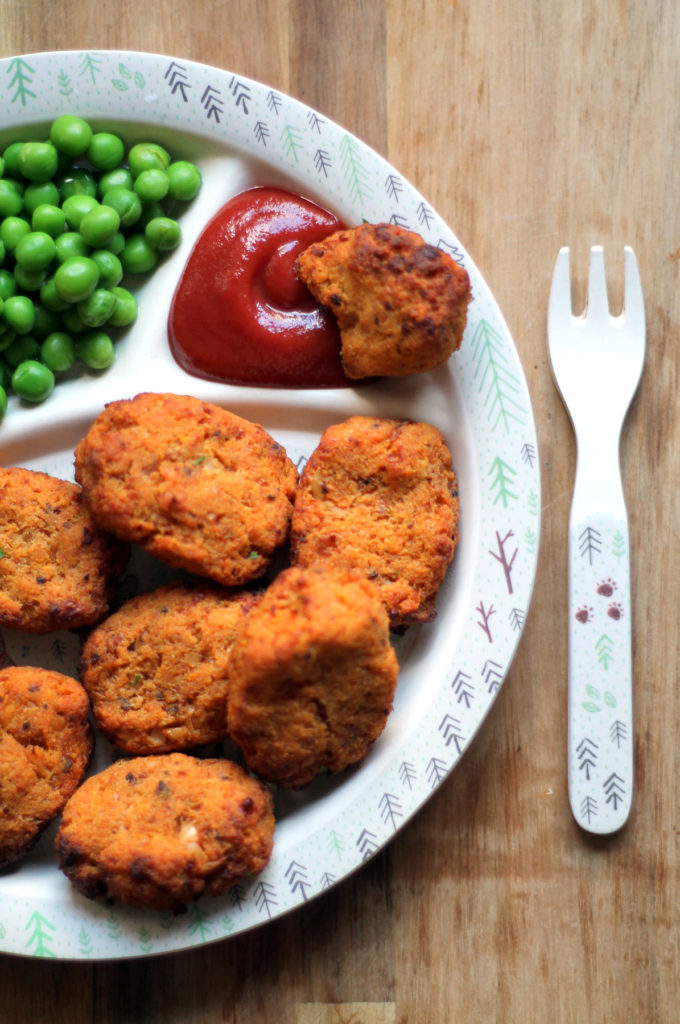
Roasted Cauliflower Nuggets for Toddlers and Kids
You can bake them a little longer to get them super crispy. Serve them with a dip and some veggies for a great weeknight meal!
Your tot may enjoy making these with you! You can have them shape the nuggets themselves. Though with egg in the mix, they do need to be old enough to listen to you when you tell them not to eat any of the raw dough!
If your kiddo loves nugget dinners, try making a double batch and freezing the extra dough. Then defrost it overnight in the fridge, and you can get nuggets on the table easily for dinner.
How to Make Roasted Cauliflower Nuggets
These are a little bit of a project, mainly because we have to break it into two parts and use the oven for each. Thus, it’s perfect for those of you organized folk who meal plan, meal prep and do make ahead meals.
In the Morning / The Night Before
You will roast the cauliflower and make the nugget mixture. This will be about 30-40 minutes. Then you will put it in the fridge to chill.
When it’s Time for Dinner
You will form and bake the nuggets. This will be about 30 minutes.
As I explain in the recipe card, chilling the mixture really helps you to keep your nuggets moist without them melting or spreading on the baking tray. It makes the recipe a little more forgiving too. If you don’t get the texture exactly spot on, or if your ingredients are quite different to mine, chilling your mixture can help to even things out and ensure they will still come out of the oven delicious.
Roasted Cauliflower Nuggets
Ingredients
- 1 head cauliflower, florets
- 5 cloves garlic
- 1-2 tsp of smoked paprika, optional but so yummy
- 120 g (1 cup) grated cheddar cheese , choose a nice strong one
- 200 g (3 cups) soft, fresh breadcrumbs*
- 1 egg
- A handful of fresh chives
Instructions
- On a baking dish, toss your cauliflower florets and whole garlic cloves with a little bit of olive oil. Sprinkle with smoked paprika and roast in the oven for 20-25 minutes, until browned and crispy on the edges.
- Leave it to cool down for about 15 minutes, just to take the edge off the heat, while you prepare the rest of your ingredients.
- Add all ingredients into a food processor (adding the breadcrumbs in stages) and pulse until a dough is formed. Try to leave the dough a little bit textured and don’t over-process it – you don’t want it to be a paste. You may not need as many breadcrumbs as the recipe calls for. I only needed the full amount when I used a very soft, fluffy breadcrumb. It will also depend how big your cauliflower was. Stop if you feel the dough is becoming very dry or crumbly. At this stage, the dough needs to be substantial enough to form into nuggets with your hands, but still moist enough to stick to your hands a little. (And that’s OK because it will dry out and firm up in the fridge.)
- Refrigerate for at least a few hours, until completely chilled.**
- Once it comes time to make your nuggets, preheat the oven to 200C / 390F.
- Line a baking tray with parchment paper, and brush some oil on top.
- By now your dough should be really easy to shape. Use your hands to form nuggets. You want them to be fairly small – a couple of inches long. See my photos for a rough guidance on size and shape.
- Lightly brush the top of your nuggets with olive oil.
- Bake until they are starting to brown and crisp up on the edges, around 15 minutes. You can go a little longer if you want them extra crispy, especially if you’re making them for older kids or adults.
- Let sit for about 5 minutes before serving.


I eat cauliflower ALL THE TIME, but never thought to make nuggets! Brilliant! Can’t wait to try these and maybe even get my super picky eater to try them too (if he thinks they are chicken nuggets he just might)!
I hope he likes them! 🙂
ohhhhh yes! these look delicious. this is a fun use of cauliflower!
Everything about this recipes, YES! This one is a family favorite!
All I can say is WOW! I can’t get over how much these look like chicken nuggets. Can’t wait to try these out and trick my littles into eating their veggies.
I hope he likes them! 🙂
I hope he likes them! 🙂
a huge hit with the two-year-old and nine year old alike!
Yay! 🙂
These nuggets are amazing, thank you! I was actually in a bind and needed them in the same night, so I shaped the nuggets onto the baking sheet, threw it in the freezer for 20 minutes, baked them as you said, and they never spread! So good!
a huge hit with the two-year-old and nine year old alike!
a huge hit with the two-year-old and nine year old alike!
Pingback: 25 Toddler Finger Foods & Recipes! - Mind of Mom
Looks great! Can these be frozen?
I’ve never frozen them after cooking, but freezing some of the mixture and then making a fresh batch works really well.
Pingback: 15 Great Vegan Recipes Your Toddler Will Love | Uber Kids Blog
Pingback: Healthy Finger Foods for Toddlers - perfect for snacks on the go! - My Bored Toddler
This roasted cauliflower nugget recipe is really amazing. I love this recipe and want to cook it.
Love the flavor and texture but mine burnt on the bottom and never browned on the top. I used dry breadcrumbs instead of soft (all I had) and put them directly on a lightly oiled baking sheet. (No parchment paper either). Is that what went wrong? Should I have flipped them half way through baking?
Oh no! Yes it sounds in retrospect like they should have been flipped halfway through baking, though I’ve never needed to do this myself and I have never had this issue so it’s very hard to say what went wrong. I think it will be down to your individual oven and it’s air circulation more than the breadrumbs or lack of parchment paper. Is it a fan / convection oven?
Can I substitute the breadcrumbs for maybe oats to make these gluten free do you think?
Yes that could work! I have never tried it but I am sure it would be fine. I don’t know what amount you would want but I would just start with half the amount given for breadcrumbs and keep adding more – paying attention to the texture.
Pingback: 30+ Healthy Cauliflower Recipes for Babies and Kids - AppDonald
They are great out of the oven… and even better the next day! Thank you!
Can you use frozen cauliflower for this recipe?
Yes, you can roast cauli from frozen, it just needs a few minutes longer in the oven! I am so sorry for the delayed reply.